Compare
Curve Text Generator vs Figma: Best Workflow for Curved Text
Figma is excellent for interface design, layouts, design systems, and collaboration. For curved text, the simpler workflow is often to create the curved lettering first, export SVG, and place that SVG into the Figma file as artwork.
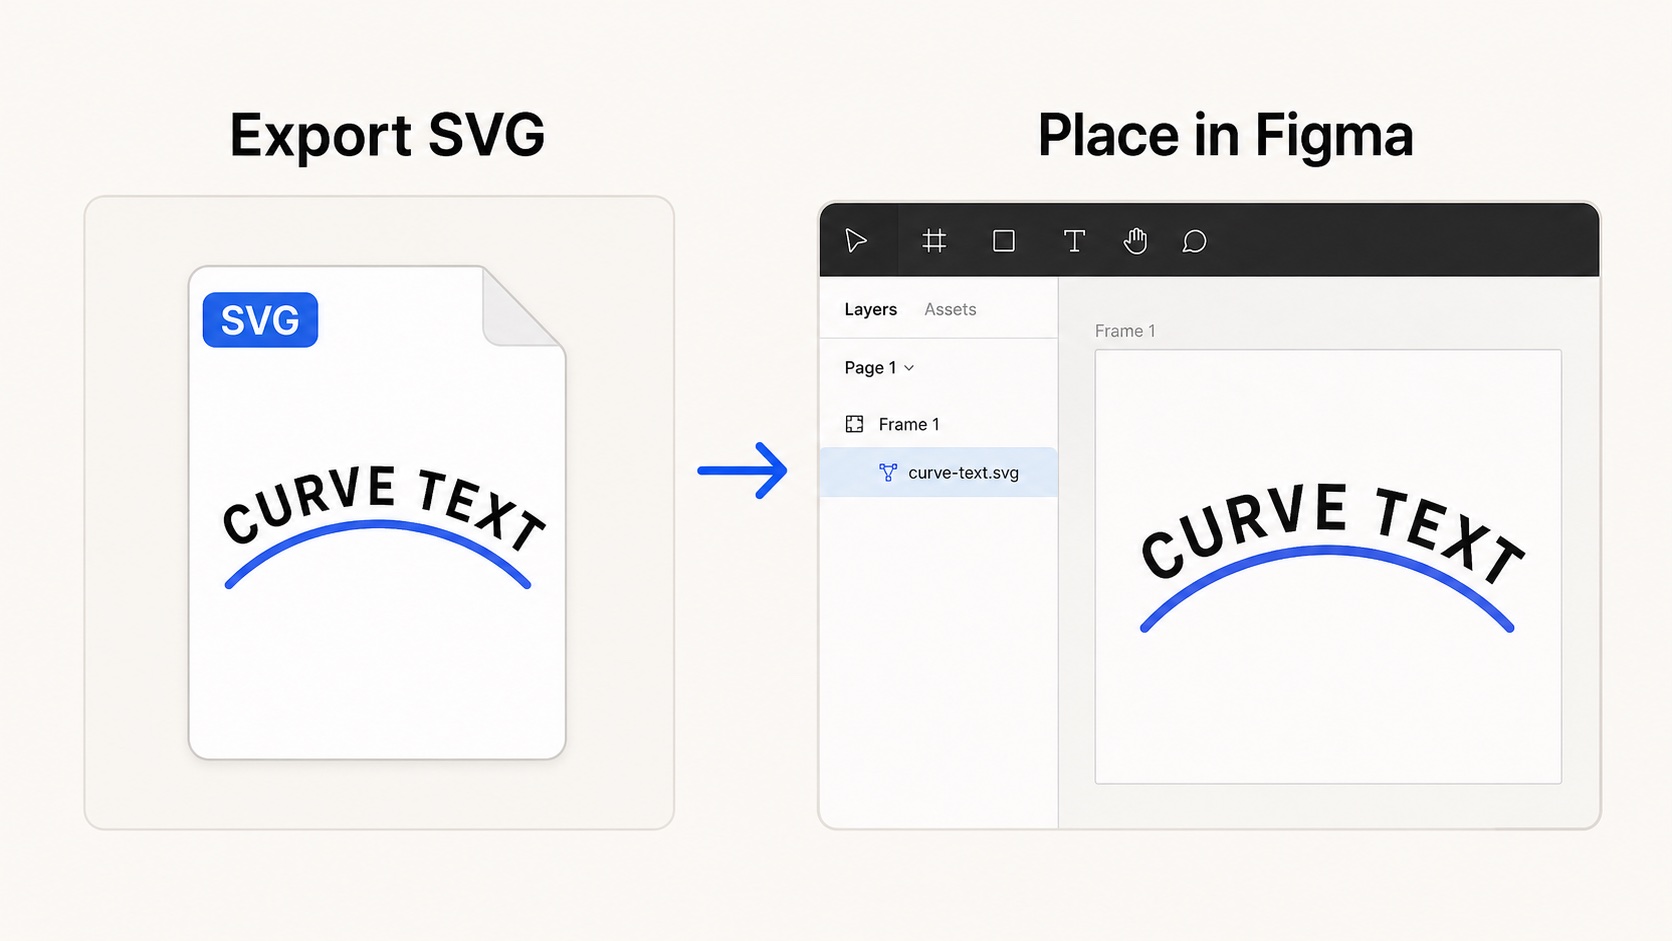
Generate the curved text as SVG, then place it into Figma as a reusable layer.
Quick answer
Use Figma for the full design system or screen layout. Use our curve text generator when you need to create the curved lettering itself. This keeps the curved text step focused, then lets Figma do what it is best at: arranging the final design.
Figma has strong text controls, but curved text and text-on-path workflows are not as direct as simple straight text styling. If your goal is an arched logo word, circle text badge, sticker mark, or decorative curved headline, exporting an SVG first is usually cleaner.
When Figma is the better choice
- You are building a screen, component, presentation frame, or full design system.
- You need collaboration, comments, versions, or shared libraries.
- The curved text is already final and only needs to be positioned inside a design.
When the generator is faster
- You want to make a curved text asset without adding plugins or manual vector steps.
- You need SVG output that can stay sharp at any size.
- You want transparent PNG output for quick mockups or thumbnails.
- You are creating circle text, sticker labels, badges, or arched text marks.
Recommended workflow
- Create the curved text on a transparent canvas.
- Export SVG from the generator.
- Drag or import the SVG into Figma.
- Use Figma for the final layout, spacing, background, and components.
If the curved text is a reusable brand or badge asset, keep the SVG. If it is only a temporary mockup element, PNG is often enough.